Organization whitelisting feature guide
This article describes the whitelisting options available at the organization level and provides the steps for configuring those options.
Whitelisting types
Graphus will skip processing any inbound email with attributes that match the whitelisted parameters. No Quarantine or EmployeeShield® functionalities in Graphus will be applied to such emails. There are four different types of whitelisting capabilities provided at the organization level.
-
Sender Domain: The sender domain is the domain part of an email address. For example, kaseya.com is a sender domain while john@kaseya.com is a sender's email address. This option will whitelist the sender domain and skip processing inbound emails whose sender email address includes the configured domain.
-
SMTP Mail Domain: The SMTP mail from domain is the domain specified during the SMTP transaction in the MAIL FROM section of the SMTP envelope. This option whitelists a combination of the sender domain and an SPF value. Processing will be skipped for inbound emails whose SMTP MAIL FROM domain and the SPF value match the configured values.
-
IP Address: This is the originating IP address of the SMTP server that sent the email. This option will skip processing inbound emails whose IP address matches the configured values.
-
SMTP Mail From & Sender Domain:This option combines the sender domain, SMTP MAIL FROM domain, and SPF value. It ensures precise whitelisting for emails coming from mail services like Salesforce and email chains. The SMTP Mail From and Sender Domain reduces the scope of whitelisting. Processing will be skipped for an inbound email only when its sender domain, SMTP MAIL FROM domain, and SPF value match the configured values.
Whitelisting page
The Whitelisting page includes a tab for each type of whitelisting. Selecting a tab lists its existing whitelisting entries. You can upload multiple entries at once with the Bulk Upload button or add entries separately using the Add to Whitelist button. Find specific entries using the Search box.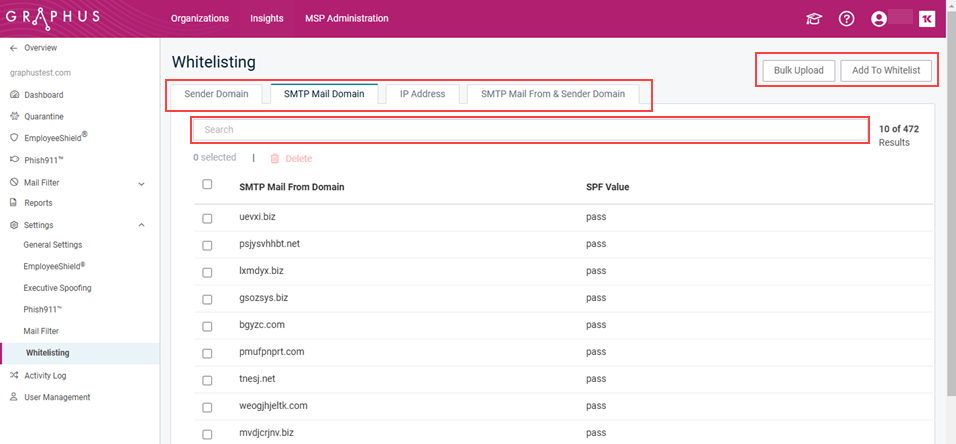
How to...
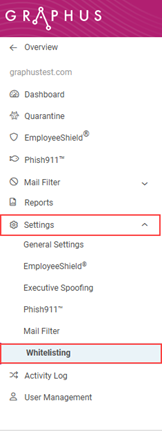
- On the top navigation bar, click Insights.
- Click the name of the organization.
- In the navigation pane, select Settings > Whitelisting.
- The Sender Domain tab is selected automatically and lists the entries that were whitelisted previously.

NOTE It does not matter which whitelisting tab is selected when adding entries as you specify the whitelisting type when doing so.
- To upload multiple entries at once:
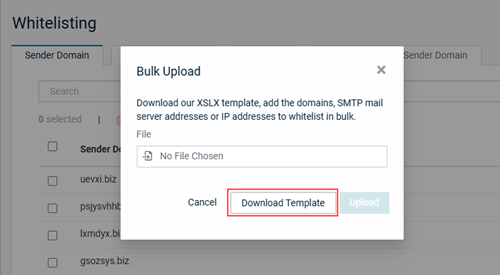
- Click the Bulk Upload button.

- In the Bulk Upload modal:
- Click the Download Template button.
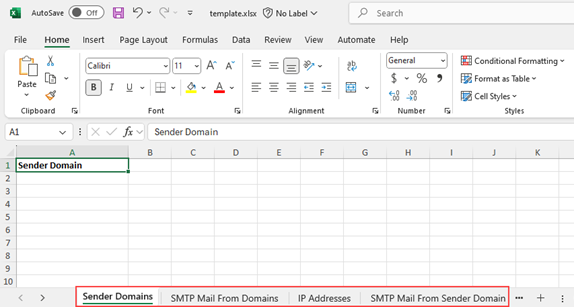
- Save the template to your computer and open it.
- Select the worksheet for the applicable whitelisting type and enter the whitelisting criteria. You can enter criteria on as many worksheets as desired. Save the template.
- In the Bulk Upload modal, in the File field, click the icon.
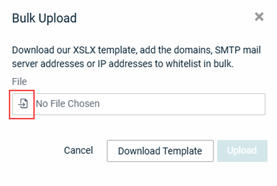
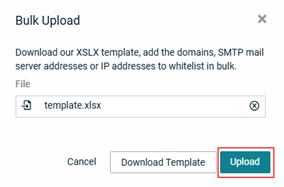
- Navigate to and open the template.
- Click the Upload button.
A message is displayed indicating the template was uploaded successfully.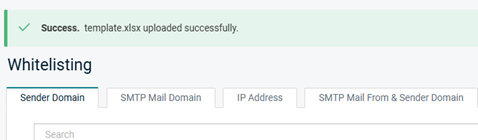
- Click the Download Template button.
- Click the Bulk Upload button.
- To add entries individually:
- Click the Add to Whitelist button.

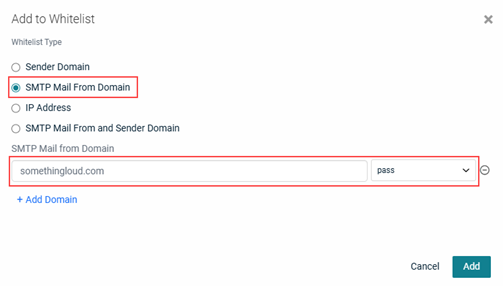
- In the Add to Whitelist modal:
- Select the radio button for the applicable Whitelist Type.
- Enter the whitelisting criteria.
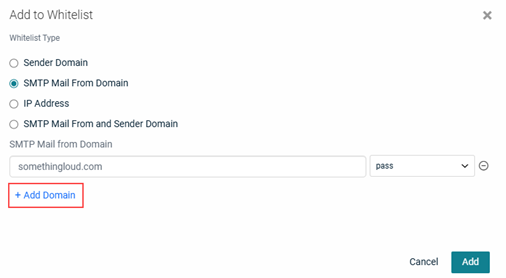
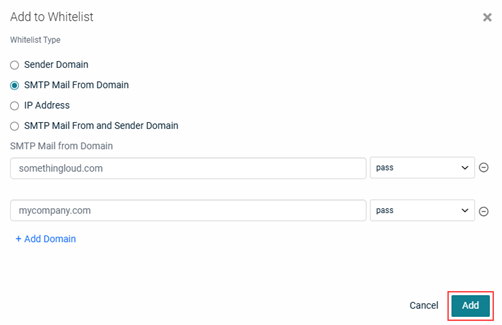
- To add another entry for the selected Whitelist Type, click the Add button. Enter the whitelisting criteria.
- When you are done adding entries, click the Add button.
A message is displayed indicating the settings were saved successfully.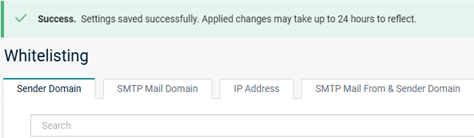
- Click the Add to Whitelist button.
NOTE When adding entries individually, only one Whitelist Type can be selected.
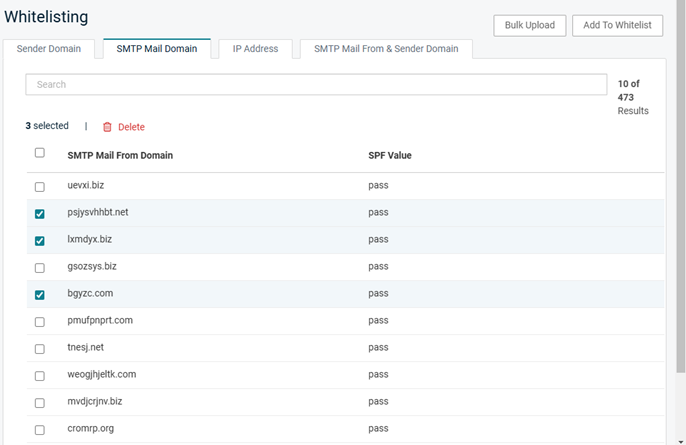
- To delete entries:
- Click the applicable whitelisting tab.
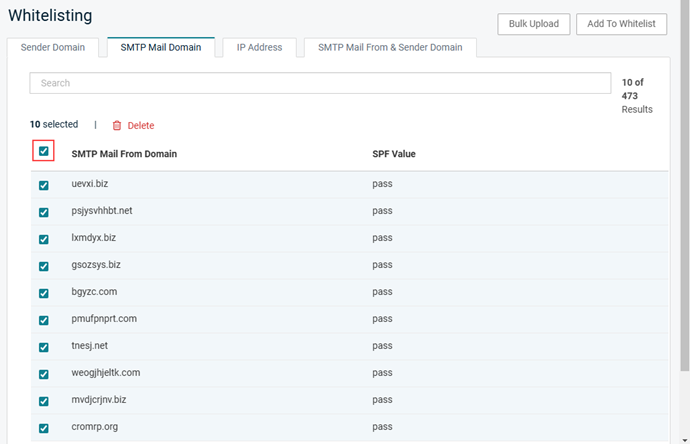
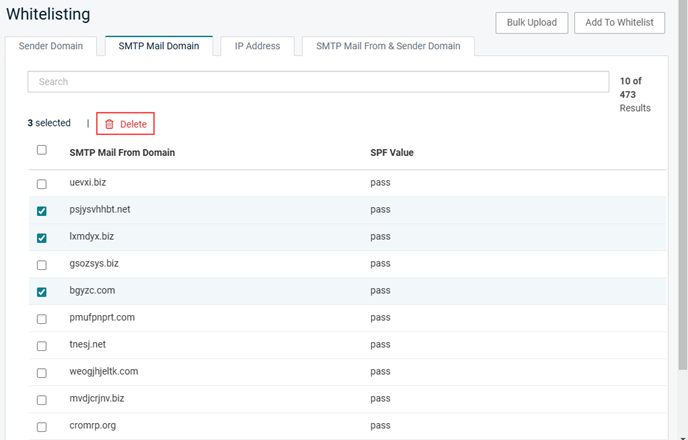
- Select the check box of each entry you want to delete.
- At the top of the table, click Delete.
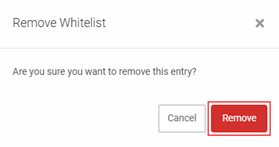
- In the Remove Whitelist modal, click the Remove button.
NOTE You can delete all entries on the selected page by selecting the check box in the table header and clicking Delete.