Setting up the Personal Spam Filter for graymail filtering
Introduction
Built-in Microsoft 365 and Google Workspace spam filters do a great job of blocking obvious spam messages. However, these filters often allow the delivery of commercial marketing and bulk emails from legitimate senders. These emails, referred to as graymail, may include newsletters, product updates, or job offers. Graymail is generally harmless, but whether the content is useful depends on each recipient’s point of view.
The Personal Spam Filter targets the graymail that gets past most spam filters and operates in addition to the Microsoft 365 and Google Workspace spam filters. It offers the following core functionalities:
-
Personal Filter
-
Organization Filter
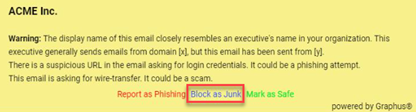
The Personal Filter provides individual mail filtering functionality to each email recipient. When a recipient determines that an email is unwanted and should be blocked, the recipient can mark the email as spam by clicking Block as Junk in the EmployeeShield banner. Future emails from this sender that are intended for the recipient will be blocked. However, other organization recipients will continue receiving emails from this sender.
The Organization Filter allows administrators to manage a list of senders to block at the organization level. This filter applies to all email recipients in the organization. Meaning, that all emails sent from the addresses configured in the filter are blocked globally.
This guide provides the information for implementing each of the filters that comprise the Personal Spam Filter.
NOTE Enabling or disabling filters or changing filter-related options may take up to 24 hours to be implemented.
How to...
Key default settings that are required to enable the feature are emphasized.
NOTE The Personal Filter does not support shared inboxes. The filter was built to create a personal spam profile for each recipient to stop unwanted emails from reaching the recipient's inbox. Graphus is not able to create a personal spam profile for inboxes that are used by multiple users.
- Log into the Graphus portal using your MSP admin credentials.
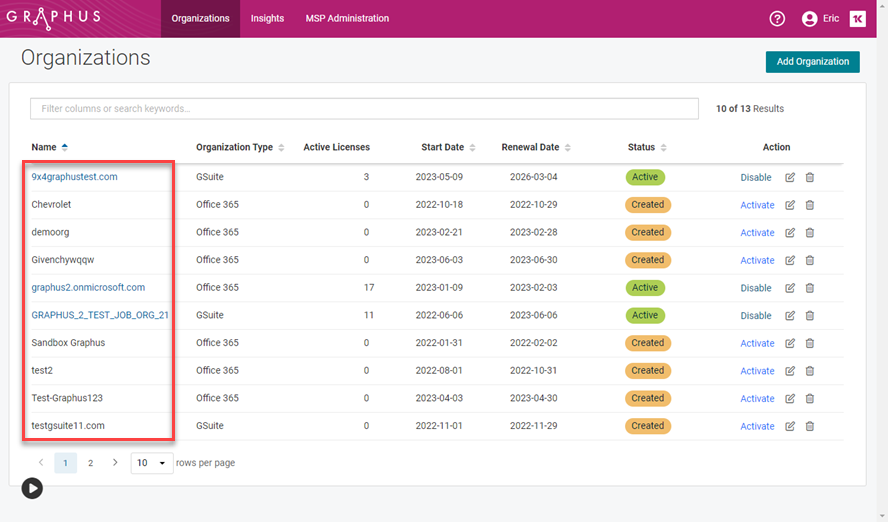
- On the Organizations page, click the applicable organization.
- For the Personal Filter to be enabled, the following options must be selected on the EmployeeShield® page:
EmployeeShield® Banner: Enabled.
Application to New & Not Yet Trusted Senders: Enable & apply to: All Emails.
For a banner to be displayed on emails from new or not yet trusted senders and for the Personal Filter to be activated, this option must be enabled. It is recommended that All Emails be selected.
Recipient Interaction: Interactive.
This allows email recipients to mark emails as spam. It is required that Interactive is selected for the Personal Filter to be enabled. Selecting Informational deactivates the Personal Filter and the banner will only display information related to the detected spam issue. The recipient will not be able to mark an email as safe, spam, or unsafe.
The Skip Recipient Authentication feature is disabled. It is required that this feature is disabled for the Personal Filter to be enabled.
IMPORTANT The Personal Filter will be enabled for employees per the selection you made for the Apply EmployeeShield to option on the EmployeeShield® page.
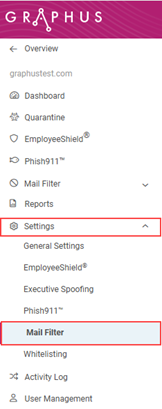
- In the navigation pane, select Settings > Mail Filter.
-
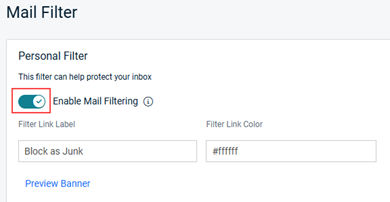
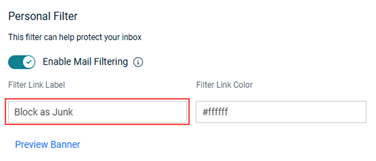
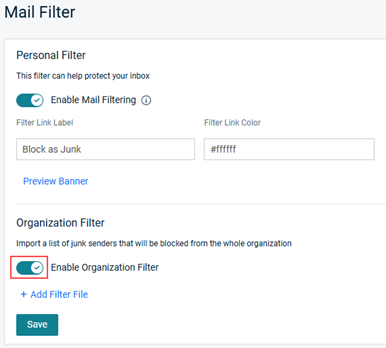
In the Personal Filter section, select the Enable Mail Filtering check box.
IMPORTANT The Personal Filter setting is disabled when Graphus is in Monitoring mode.
-
If desired, in the Filter Link Label field, edit the default text. When a user clicks this link in the email banner, future emails from this sender will be blocked.
-
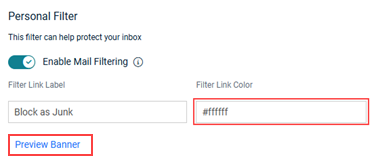
Optionally, in the Filter Link Color field, change the color of the link in the banner. To see how your changes will appear, click the Preview Banner button.
-
At the bottom of the page, click Save.
NOTE The feature can be disabled by clearing the Enable Mail Filtering check box and clicking Save at the bottom of the page. It may take up to 24 hours for the feature to be deactivated.
To manage the Personal Filter, refer to the article Managing the Personal Spam Filter.
-
Log into the Graphus portal using your MSP admin credentials.
-
On the Organizations page, click the applicable organization.

- In the navigation pane, select Settings > Mail Filter.
-
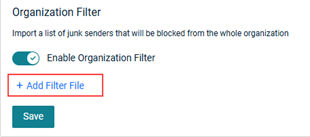
In the Organization Filter section, select the Enable Organization Filter check box.
- To upload a list of senders that should be blocked:
- Click + Add Filter File.
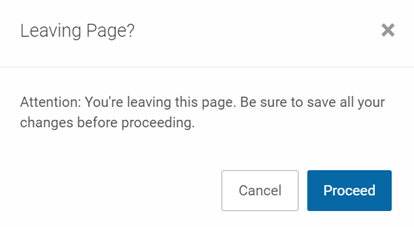
- In the Leaving Page modal, click Proceed.
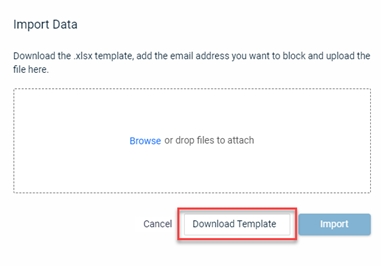
- In the Import Data modal, click the Download Template button.
- Open the template and in the Blocked Email Address column, enter each email address you want to block. Enter one email address per cell.
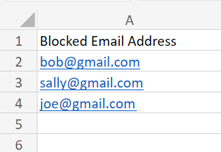
- Save the template.
- In the Import Data modal, browse to, select, and open the saved template. Or, you can use the drag-and-drop feature.
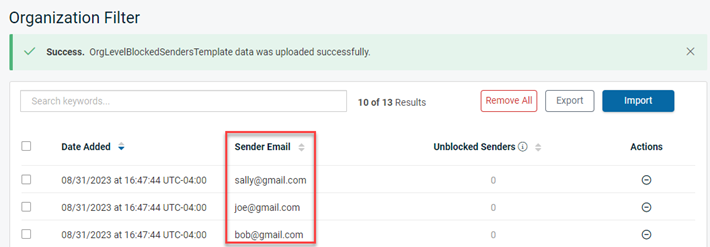
- Click Import. Each imported sender email address is listed in the Organization Filter table.
- Click + Add Filter File.
NOTE The feature can be disabled by clicking the toggle and clicking Save at the bottom of the page. It may take up to 24 hours for the feature to be deactivated.
NOTE After the import is done, Graphus will scan the list and remove any duplicates.


